How to Make a Fondant Cake
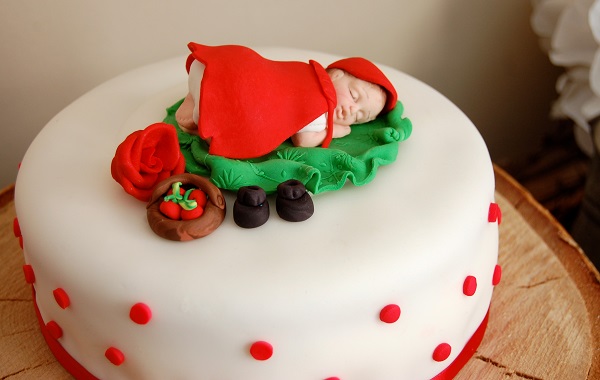
-Little Red Riding Hood-
~DIY of how to make fondant cake~
A very large part of the baby shower party-planning process is of course the cake. The cake is usually linked to the theme of the shower, and it can serve not only as the main dessert but also as the centerpiece of your table. Fondant achieves a stunningly smooth and professional look.
Unless your best friend happens to be the
CakeBoss, there is no reason you couldn’t make your very own cake fondant in
your kitchen. I was definitely intimidated by fondant at first; I thought there
was no way I would pull it off. However, for all of you fellow disbelievers out
there, I am here to tell you that it is not as hard as it looks. The end result
is something you will be bragging to your friends about for a long time. And I tell you exactly how to make a fondant cake below!
There are a myriad of tools and gadgets that are available for fondant at stores such as Michaels, but don’t let yourself be overwhelmed. If you are making a fondant cake for the first time, just focus on the basics. The cake is essentially the same old cake that you buy in a box at the store and bake, no worries there. Then comes the part where you shape and apply the fondant. Below I will guide you through the process from start to finish, step by step.
You will need: cake mix, buttercream frosting, cake release mixture (see below), 2 lbs. of rolled fondant, cornstarch, and vegetable shortening.
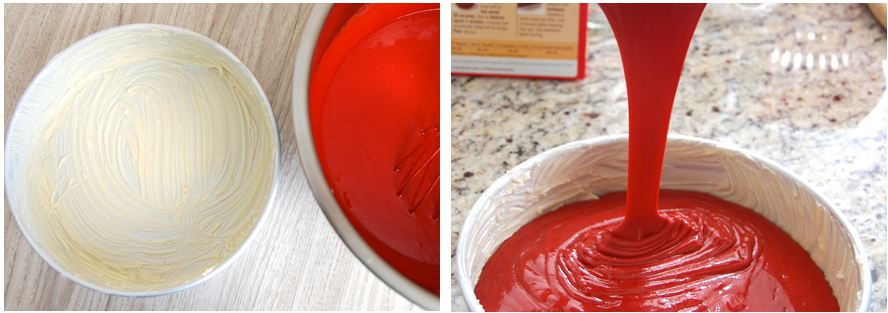
First and foremost, preheat the oven and prepare
the cake batter as directed on the box. I couldn’t help myself and of course
chose red velvet for the Red Riding Hood-themed cake. I made a two-layer, 8-inch round cake. To coat
the cake pans so that the cakes would release easily after baking, I prepared a
cake release mixture of equal parts vegetable shortening, flour, and oil and
brushed the inside of the pans.
Bake the cakes according to package directions. Let cool for about ten minutes on a wire cooling rack before trying to flip from the pan. Meanwhile, cut out an 8-inch cardboard round to fit under the bottom cake layer, which will help with the sturdiness of the cake.
After 10 minutes, carefully flip the cakes out onto a cooling rack and let cool completely before applying any frosting. Apply a bit of frosting to the cardboard first so that the bottom layer of cake stays in place, and then center the bottom cake on the cardboard. Apply a generous layer of frosting to the top of the first layer, and, carefully lifting the second layer with a spatula, place the second layer on top of the first.
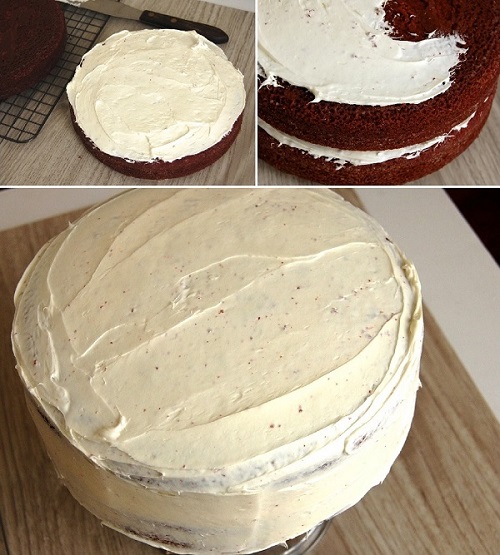
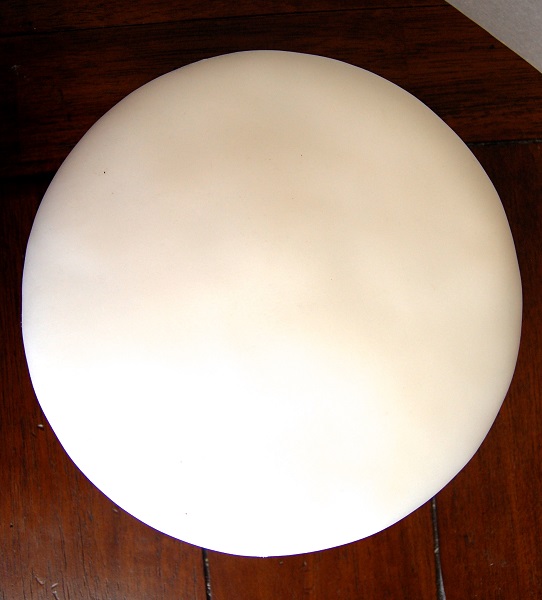
Liberally frost the outside of the cake with buttercream frosting. The layer of frosting helps the fondant stick to the cake, and provides a clean and smooth surface for the fondant to be applied to. That said, try to flatten the frosting as best as possible because you cannot change it once the fondant is applied, and any bumps in the frosting will show through the fondant (the photo above is before I smoothed the frosting out). I found that setting the cake on a short pedestal made it easier to apply the frosting.
Alright, it’s been pretty basic cake baking up to this point. Next comes the fondant. Wonderfully, Michaels sells premade fondant in boxes that you just have to roll out. They sell it in multiple colors and sizes. You can use the store-bought fondant as I do here, saving a huge step, or you can make your own. I recommend trying this recipe if you want to make homemade marshmallow fondant.
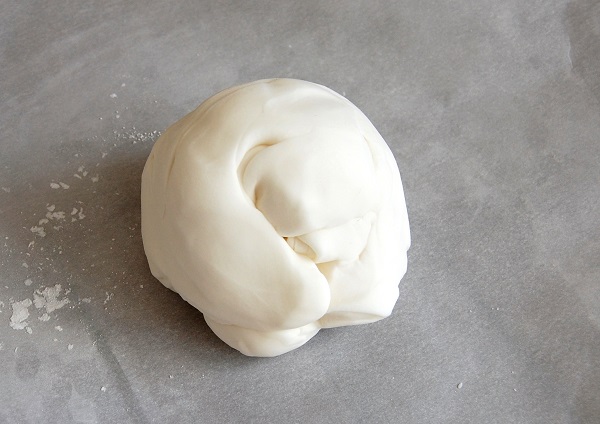
The first step to working with the fondant out of the box is to prepare your work surface. Dust a large nonstick mat or a flat surface with cornstarch. Then start kneading the fondant with your hands to make it more pliable. It starts off as very stiff and dry, but after 5-7 minutes of kneading it should start to feel soft and supple. If there are still cracks in the fondant after kneading, just add a bit of vegetable shortening and work it in.
The next step is to roll out the fondant in a similar fashion to regular dough. Nonstick rolling pins work best for this, but you can also rub your regular rolling pin with more cornstarch to prevent sticking. Roll the fondant out in the shape of your cake. To measure how large to roll out your circle, I recommend using Wilton’s guidelines for fondant: Measure the cake across the top and the sides, and then add two more inches. So the equation is: the diameter+side+side+2 inches. My cake was 8 inches across and 3 inches high, meaning my fondant needed to be rolled out to 16 inches. The more fondant that you roll out, the more that you will have to work with along the bottom of the cake.
As I was rolling the fondant, I made sure to lift it off the mat periodically and rotate so that the fondant layer was rolled out evenly. Once the fondant is ready, it is easiest to lift it by folding it over the rolling pin, and then transferring to the cake. Try to have it hanging evenly around all sides of the cake. Also, do not wait too long before transferring the fondant to the cake, because it dries out just sitting there.
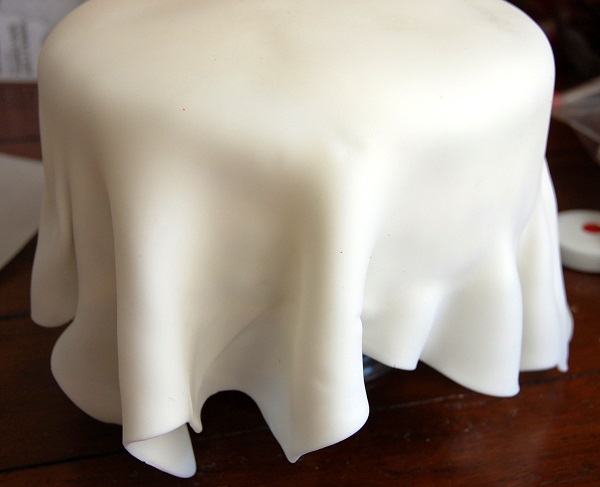
Using your hands, carefully smooth the top out. Slowly work your way around and down the sides of the cake to create an even surface. The excess fondant at the bottom can start to form pleats, so go ahead and cut the excess off with kitchen scissors so that the sides don’t ruffle. Slide your hand down the side to smooth the fondant out and tuck under the bottom, repeating with the entire cake. The key here is patience and checking around the cake again and again for smoothness.
The cake is now ready for other fondant or frosting decorations. I would advise against storing a fondant cake in the refrigerator because when it comes out it turns wet and sticky. Instead, store it in a cool, dry place in a cake box.
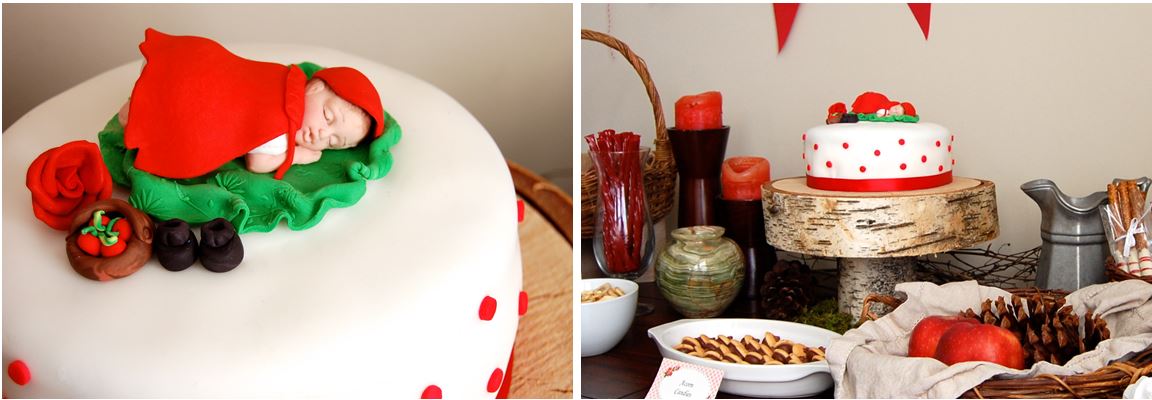
For decorating with fondant, the possibilities are endless. Since fondant is extremely shapeable, it can be used with any party theme or idea. It’s the grown-up version of playing with Play-doh. It is flexible, can be imprinted with designs, or formed into hearts, flowers, or simple shapes. For the red dots, I rolled out some red fondant and used a frosting tip to make uniform circles. If you want to apply fondant to fondant, dab a bit of water on the piece you are placing on the cake so that it sticks. Be forewarned though that colors can leave a residue, such as red on white, if you want to move things around later.
One idea for accenting the bottom of the cake is to place a wide ribbon around the outside for a cleaner look. You could also use shaped fondant pieces. For the cake topper, I decided to order the perfect Baby Red Riding Hood made by the talented Ana Feke on Etsy. What a little nose she has. What little feet she has. Look at the wonderful detail!
how to make a fondant cake
See now, that wasn’t too bad, right? The end result is a beautifully composed cake that will be the center of attention at any party.