All About Cake Pops
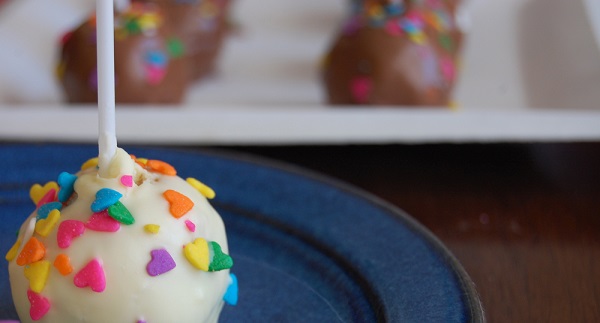
Cake pops make the perfect sweet treats for any kind of baby shower. These bite-size confections have become wildly popular in the last few years, and can cater to any theme or party you are hosting. They taste like a dense frosted cake rolled into a ball and topped with sprinkles. They can be served on a stick, on a spoon, or just on a plate. They are mess-free to eat and easily portable. And they taste undeniably amazing!
These delicious cake confections work really well for baby showers because they are great for single size servings. Instead of a large formal cake, cake pops provide guests with the option of choosing when and how much dessert they get.
For making the cake pops, you’ll need:
- Boxed cake mix
- Container of frosting (16 oz)
- Candy Melts (Wilton White Candy Melts) or Almond Bark
- Vegetable shortening
- Lollipop sticks
- Sprinkles or other decorations
For the cake balls:
The easiest part- first bake the cake mix according to the directions on the box. Let the cake cool completely. Transfer the cooled cake to a big bowl, and break into crumbs using your hands or a fork.
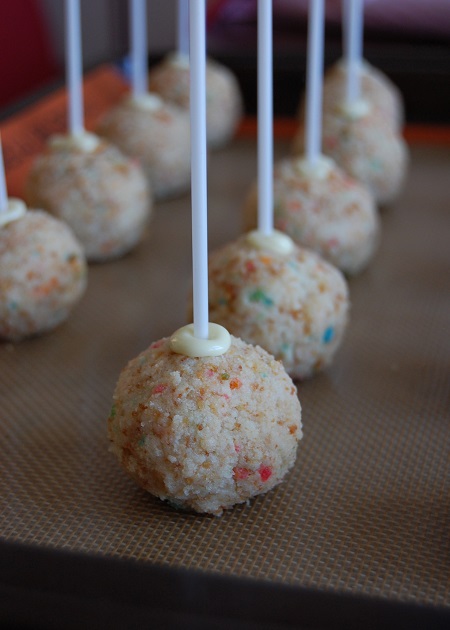
Mixing the cake crumbs with the frosting makes the ‘dough’ for the cake pops. Begin by adding about half the container of frosting to the crumbs – you can always add more – and mix with your hands. Form into small balls with your hands by squeezing the dough together, then rolling into a ball shape. You can also use a cookie dough scoop to make the balls more uniform. If the cake ball falls apart, add more frosting. Arrange the balls on a Silpat or baking sheet lined with wax paper, which will help with clean up later.
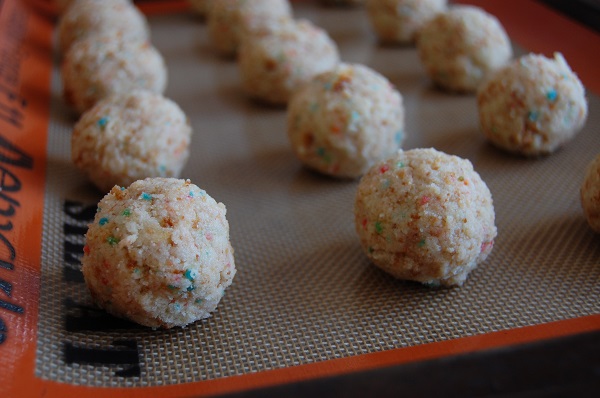
Refrigerate the cake balls overnight, or stick them in the freezer for at least an hour so that the dough firms.
Decorating the Pops:
Melt the candy melts or almond bark. This can be done in the microwave (stirring in intervals of 30 seconds), in a chocolate melter, or in a double boiler on the stove. If you have a handy dandy chocolate melter, it keeps the temperature constant the whole time you are dipping the cake balls. If you are like the other 95% of the population, you can just use a double boiler to melt the chocolate/candies, and might have to check the consistency of the chocolate often to make sure it isn’t too thick.
The chocolate might still be thick after it melts in the double boiler, and that is when the vegetable shortening comes into use. Add small amounts of shortening to thin out the chocolate, so that it will spread more evenly over the ball. The consistency should be drippy. If you go too heavy on the shortening, however, it might reflect badly in the taste of the cake pops.
Just a note: The candy melts were hard to find for me (unfortunately I do not have easy access to a Michael’s or Hobby Lobby) so I used almond bark. I believe this might be the more difficult way to go, because bark is pretty thick. Also the colors that candy melts produce are much more vivid. Playing with food coloring in the almond bark did not turn out to be wildly successful.
To attach the lollipop sticks, dip each stick into the melted chocolate and then insert about three-fourths of the way into the cake ball. Let this set for a few minutes so that the balls are less likely to fall off during dipping. This would also be a good time to correct any flat sides that might have formed while the cake balls were cooling.
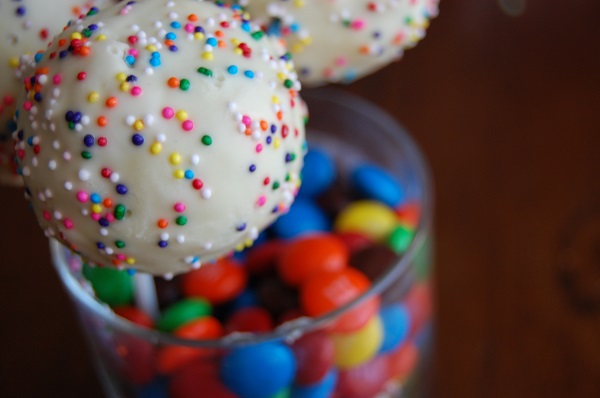
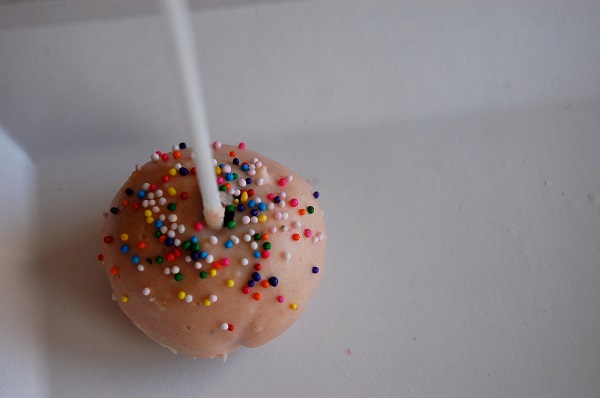
The next step is to dip the cake balls into the melted chocolate until the entire ball is covered. It is important to insert the cake ball straight in. Do not swirl the ball around, or else the cake might crumble in the chocolate. Remove the ball out of the chocolate and let any excess drip off. Add sprinkles while the chocolate is still wet.
To dry, place the pops in a block of Styrofoam or a small cup. Do not refrigerate at this point, otherwise the chocolate might be melty. However you can freeze the them, if needed. They should last up to a week.
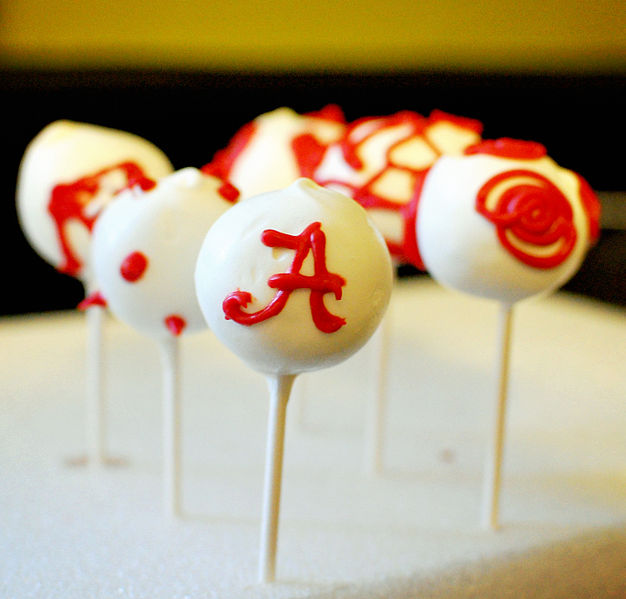
You can easily customize cake pops for any theme. For example, for a Winnie the Pooh themed baby shower you could make bumblebees or little honey pots. The options for colors, flavors and toppings are endless.
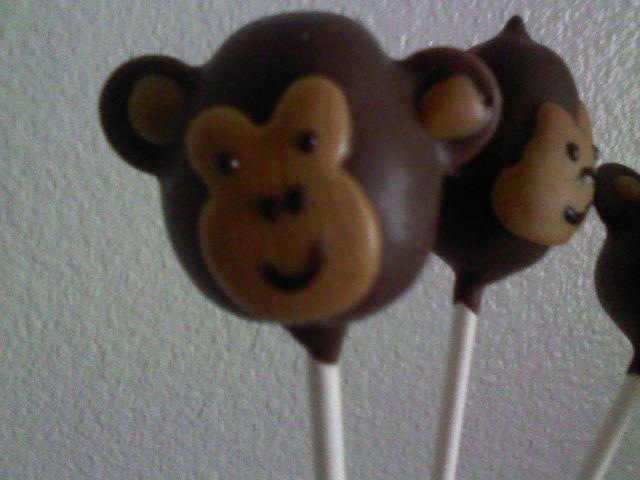
The colors of the pops are especially relevant for baby showers, between blue and pink. To take them a step further, you can also make the cake pops into different shapes such as alphabet blocks, or different animals, such as owls, bears, monkeys, etc.
A great resource for ideas is the creator of this cake confection
herself, Bakerella.
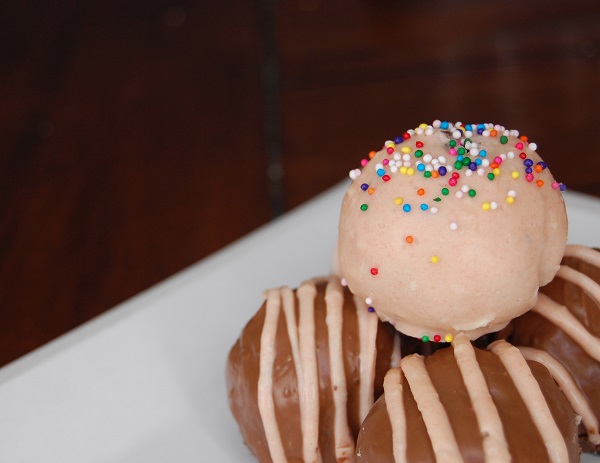
Whether it is chocolate cake, confetti cake, or red velvet cake, guests will
definitely enjoy this tasty treat. Also, take a look at our Cake Pop Gallery below and enjoy!