|
No-Sew Baby Shower Favor IdeaEasy-To-Make-Yourself Baby Shower Favor Instructions
This No-Sew Baby Shower Favor Idea has already received RAVE reviews from our readers!
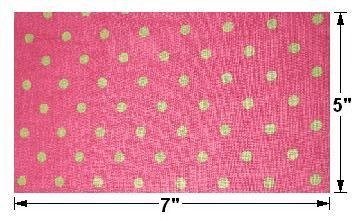
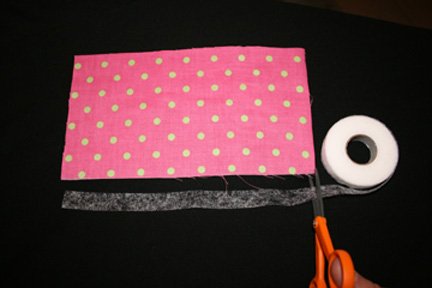
Step 1. Using your scisssors, cut your fabric into 2 rectangles, each rectangle measuring 5 inches by 7 inches.
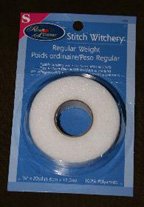
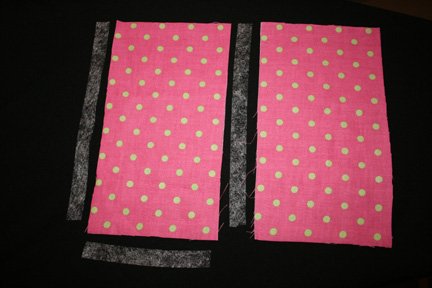
Step 3. You should have 3 strips of Stitch Witchery® and 2 rectangles. Place them onto an ironing board. Start warming up your iron by switching it to the "Wool" setting.
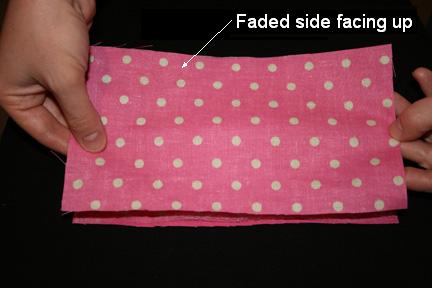
Step 4. Put one rectangle down on the ironing board with the good side facing up. Then place your 3 strips of Stitch Witchery® onto the good side of the rectangle facing up. Note: The "good" side means the side of the fabric that will be seen when the favor is done. On most fabrics, this is the side with the brighter colors and/or patterned side.
Step 5. Place your second rectangle of fabric down onto the other rectangle, with the good side facing down. Line the 2 rectangles up and sandwich the Stitch Witchery® between the 2 rectangles. The good side of both rectangles should be facing each other.
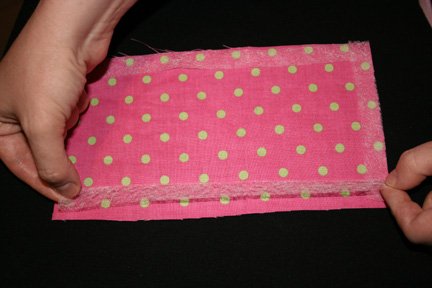
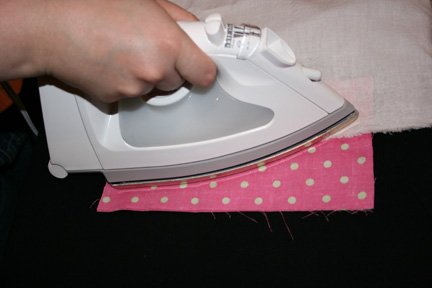
Step 6. Get your cotton rag damp. Place it over one of the long edges of the rectangles. When your iron has had enough time to heat up, place it over the edge of your favor. Press the edge for 10 seconds - do not slide the iron! Keep it in place for the full 10 seconds. Note: Make sure your damp cloth covers your edge completely. Do not let the iron touch any part of the Stitch Witchery®, or it will get residue on the surface of your iron.
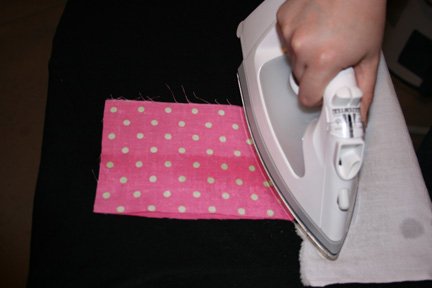
Step 7. Repeat the previous step, this time on the short edge.
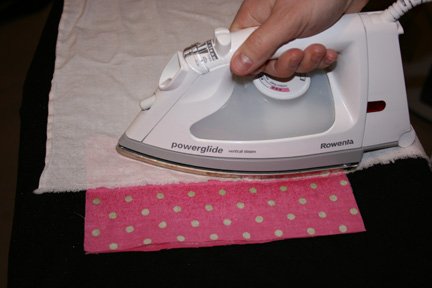
Step 8. Repeat the previous step, this time on the last edge that has the Stitch Witchery®.
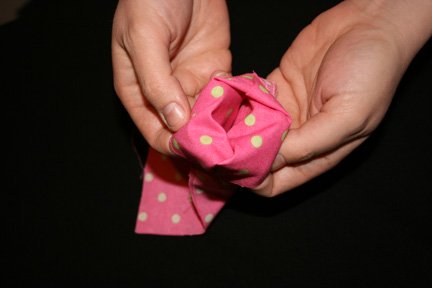
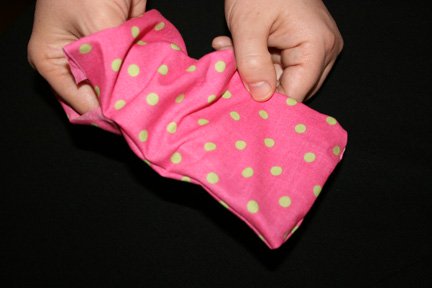
Step 9. Let the favor cool and check to see if the bond is secure - just be sure that the edges don't come apart by gently pulling at the two layers. Press again if necessary. When all 3 edges are secure, turn the favor inside out.
Step 10. Use a long object like a ruler or wooden dowel to gently push out the corners. You are almost done!
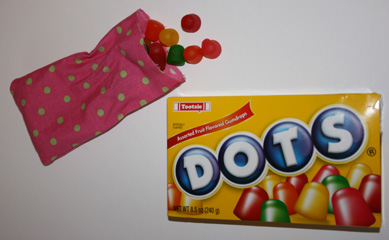
Step 11. Fill the favor bag with Dots (for a Polka-Dot theme), M&M's, jelly beans, mints, Hershey's Kisses, or any another type of candy.
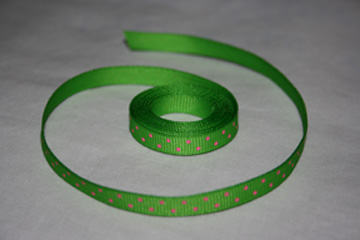
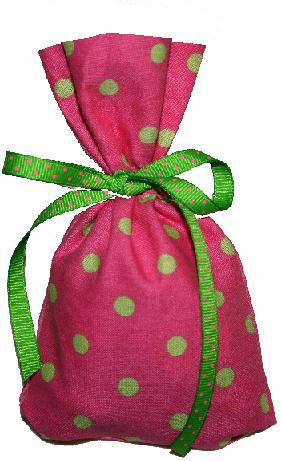
Step 12. Choose a ribbon color/pattern that matches your favor colors. Cut about 18 inches of ribbon and tie a bow around the top of the favor, about 1½ - 2 inches from the top.
Follow the above directions to make a favor for each of your guests. Each favor takes about 5 minutes to make. If you did an assembly line approach, it would take even less time per favor.
|
|||||||||||||||||


